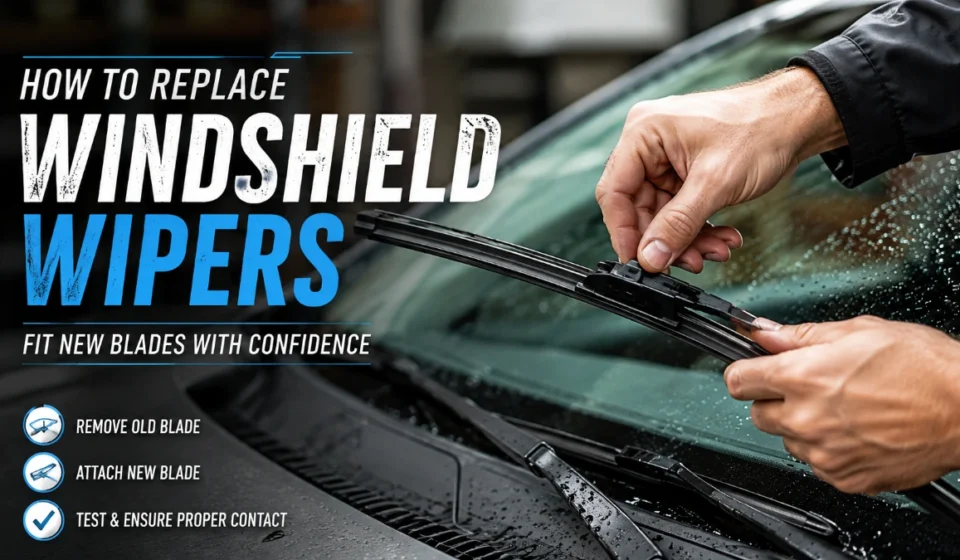

how to replace windshield wipers: Fit New Blades With Confidence
How to replace windshield wipers comes down to three things: buy blades that fit your vehicle, use the correct release method for the arm, and confirm each new blade is locked before testing it. The owner’s manual is the deciding guide when your car uses a special service position or connector.
Start With the Right Fit
A new blade has to match more than its length. It must also connect correctly to the wiper arm, and the driver’s side, passenger side, and rear window may use different sizes or fittings.
Check the vehicle owner’s manual or a vehicle-specific parts lookup before buying. Compare the new blade and supplied adapter with the existing connector, but do not assume the old blade is the correct size just because it is already installed.
| Check | Why it matters |
| Blade length | Wrong lengths can leave parts of the glass unwiped or interfere with another blade |
| Connector type | A mismatched adapter may not lock onto the arm |
| Front or rear position | Rear blades often use a different size or fitting |
| Blade assembly or rubber refill | Some vehicles take a whole blade; others use a replaceable insert |
Recognize Worn Blades
Streaking, smearing, squeaking, skipping, chattering, cracked rubber, and missed areas indicate that the blades may no longer clear the windshield properly. Replace them when their performance interferes with visibility.
Weather and use affect blade life. Heat, sunlight, cold, and frequent operation can harden or damage rubber, so inspect the blades regularly instead of relying only on a fixed replacement schedule.
Prepare the Vehicle
Before beginning how to replace windshield wipers, park on level ground, switch the wipers off, and make sure the windshield is clear. If your vehicle has rain-sensing wipers, make sure they cannot activate during the work.
Use Service Position When Required
Many modern vehicles park their wipers partly beneath the hood. In those cases, move the wipers to the service position described in the owner’s manual before trying to lift the arms.
The procedure may involve the wiper stalk, ignition sequence, or a vehicle-settings control. Do not force an arm that is blocked by the hood or will not lift normally.
Protect the Glass
Place a folded towel beneath the arm before disconnecting the blade. The arm is spring-loaded, and it can crack or scratch the windshield if it snaps down while bare.
Work on one blade at a time. The untouched blade gives you a useful reference for the replacement’s orientation.
Identify the Attachment
There is no single release method that works for every wiper blade. Inspect the joint between the arm and blade, then use the instructions supplied for your specific replacement.
| Fitting style | Typical clue | General approach |
| J-hook | Curved hook at the arm end | Release a latch or tab, then slide the blade off in the required direction |
| Push button | Flat arm with a button near the joint | Press the button and slide the blade away from its lock |
| Side pin | Pin visible on one side of the arm | Release the retaining feature before sliding the blade sideways |
| Bayonet or proprietary mount | Narrow arm, flat post, or unusual lock | Follow the vehicle manual and blade package exactly |
These descriptions help you identify the fitting; they are not a substitute for model-specific instructions. If the blade resists removal or the new adapter does not match, stop rather than forcing the connection.
How to replace windshield wipers Step by Step
Lift the Arm
Raise the first arm only far enough to reach its connector. If it will not lift freely, return it gently to the glass and check whether the vehicle requires a service position.
Keep control of the arm throughout the job. The towel is a safeguard, not a reason to let the arm drop.
Release the Old Blade
Rotate the blade enough to see the connection. Find the release tab, button, locking flap, or pin, then operate it as specified for that style.
For many J-hook designs, the blade releases after you press or open the latch and slide it toward the arm base. Other fittings may use a different direction, so follow the blade package or manual rather than applying force.
Check the New Blade
Set the new blade beside the old one and verify its length, attachment point, and orientation. If the package includes adapters, install only the adapter that is intended for your arm type.
Remove only packaging that the manufacturer clearly identifies as removable. Do not pull off any part that appears built into the blade.
Secure the Replacement
To complete how to replace windshield wipers, align the new blade with the arm and slide, press, or rotate it into its locking position. A click, visible locking tab, or firm stop usually signals that it is seated.
Hold the arm and perform a gentle pull-and-push check. The blade should stay attached without sliding out of the connector.
Lower It and Repeat
Guide the arm slowly back to the windshield, then remove the towel. Repeat the same process on the other front blade.
If your vehicle has a rear wiper, use rear-specific fitment and instructions. It may not use the same connector or removal motion as the front wipers.
Test the Blades Safely
Once how to replace windshield wipers is complete, inspect both blades in their parked position. They should sit evenly against the glass without a twist, gap, or loose attachment.
Use washer fluid, then run the wipers at a low speed. Check for smooth travel, clear wiping, normal parking, and a secure connection. Test another operating speed if appropriate.
Stop the test immediately if a blade loosens, contacts bodywork, makes repeated mechanical noises, or sweeps abnormally.
Troubleshoot Without Forcing Parts
| What you notice | First check | What to do next |
| Blade is loose | Adapter and locking tab | Refit it until the lock fully engages |
| Streaks or smears | Dirty glass and blade seating | Clean the glass and inspect the fit |
| Skipping or chattering | Rubber contact and installation | Clean the glass and reseat the blade |
| Wiped area is incomplete | Correct blade size | Confirm vehicle-specific fitment |
| Wipers do not move | More than a blade issue | Stop and arrange a vehicle-specific inspection |
| Arm is bent or damaged | Arm condition | Do not bend it by force; have it assessed |
A blade change can solve normal wear and a poor fit, but it cannot correct a damaged arm, faulty linkage, blown fuse, failed switch, or wiper-motor problem. If the wipers do not move, park in the wrong place, or make persistent abnormal sounds, stop DIY work.
Keep New Blades Working
Knowing how to replace windshield wipers also helps you get better results from the next set. Clean the windshield regularly, wipe dirt from the rubber edge with a damp cloth, and use washer fluid before operating the blades on a dry, dusty windshield.
Clear snow and ice by hand instead of using the wipers as scrapers. If the blades are frozen to the glass, thaw them gently rather than pulling them free.
When to Get Help
Consult the owner’s manual or a qualified technician if the arms cannot reach service position, the new blade will not lock, none of the supplied adapters fit, or the arm appears bent. Seek vehicle-specific diagnosis for non-moving wipers, incorrect parking, bodywork contact, or persistent unusual noises .
click on !
A replacement blade should install with controlled hand pressure. If you have to force it, the correct next step is to recheck fitment—not to push harder.
Read more: How to replace windshield wipers: Fit New Blades With Confidence
Frequently Asked Questions
No. J-hook, push-button, side-pin, bayonet, and proprietary designs are common examples, and their release mechanisms vary.
Only if your vehicle’s manual calls for it, but many modern vehicles require it because the parked blades sit below the hood edge
You can, but replacing both is often practical if they are the same age and wearing similarly. Check the rear blade independently.
Look for the connector’s click, visible lock, or firm stop, then do a gentle pull-and-push check while holding the arm.
Clean the windshield first, then inspect whether the blade is seated evenly and confirm that you bought the correct fitment.
Use washer fluid instead. Dry, dusty glass creates unnecessary friction and can affect wiping performance.
Do not force it. Recheck the blade size, connector type, supplied adapter, and vehicle-specific instructions
They may be blocked by the hood in their parked position. Consult the owner’s manual for the proper service-position procedure.
The problem may involve the fuse, switch, linkage, arm, or motor rather than the blades. Stop and seek vehicle-specific diagnosis.
Do not bend it aggressively. Clean the windshield, reseat the blade, and have the arm inspected if poor contact continues.
.
.